Copyright © 2007 - 2024, Coachworks For contact data Click Here.
Copyright © 2007 - 2024
Copyright © 2007 - 2024,
Coachworks For contact data
Click Here.
![]()
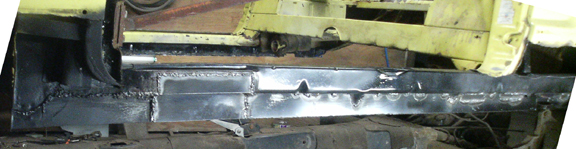
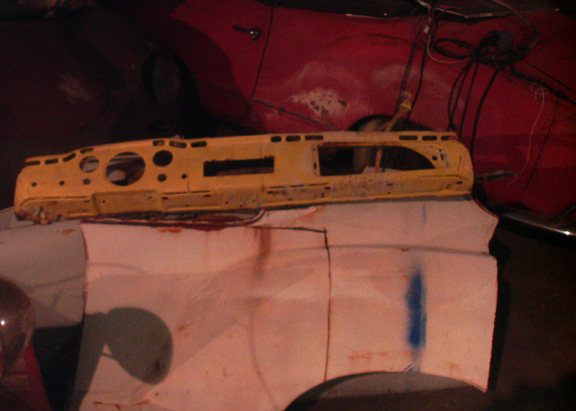
We should have had some images of the rocker's denuded before work replacing the metal began, but for some reason, we can't find them. So, instead we're starting with the right side rocker mid-way through:
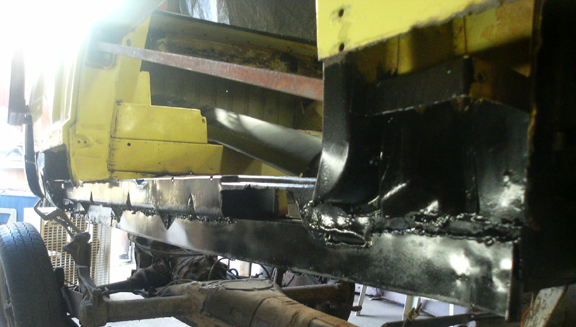
Above we see the inner stucture with the rusted parts cut away, and new metal welded in - mostly - and it's all painted with POR-15 to prevent any further rusting. Whenever the POR-15 gets scratched, ground away or otherwise compromised, we've been diligent to apply more over the top, but sometimes we cover it with enamel. You can pick out a few such places in these images where you see the texture change as usually POR-15 is glossy and we typically used satin enamel.
OK, and below, we see the rear section of this same area:
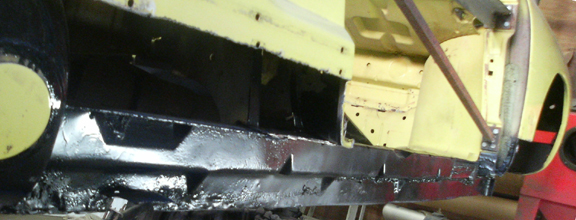
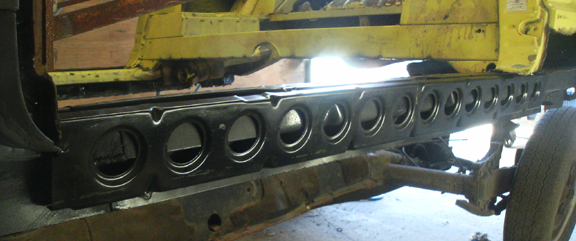
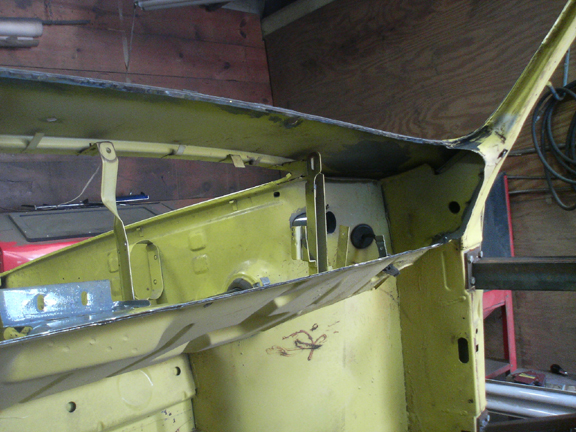
Next, we installed the stiffener unique to cabriolets. Note that the right and left sides have stiffeners made by different manufacturers! This was purely due to availability issues - neither type was available as pairs at the moment they were needed.
The one on the right is least like the originals, but is probably stronger, and it's stainless steel!
Again, note the extra paint applied along the top edge. You simply cannot have too much paint protecting your rockers!
Now for the left side - we took more photos of the left side...
First, below, we see the inner substructure mostly already repared. You can see that many patches were used.
Now, with the last of the sub-structure patches applied:
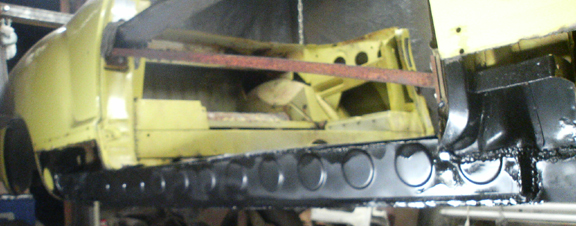
We always trial fit pieces, and on this side we found a serious problem. Note in this image (below) that we've tacked in place the convertible-only stiffener. (Yes, this one is the one that's most like the stock stiffener.) Pay close attention to the metal at the bottom edge.
Now note the same area with the stiffener welded in - and coated with POR-15 (the gloss gives it away) - and note that there's more metal below the stiffener. This piece had to be added in order to accommodate the outer skin properly. We'll show you why a bit further down.

Alright, why did we have to do that? Take a look at the bottom edge of the outer skin in the next photograph. Yes, the skin's welded in already, but look for the lower edge as it runs fore-aft. Roughly where it meets the back edge of the door (below the "lock pillar") and you'll see that it dips down at this point, lower. If we had not added the extra metal for the skin to weld to, that portion of the outer skins lower lip would have "run off" the rocker's substructure in that area.
We're not entirely sure why this piece was short. We have an NOS rocker skin hidden away; maybe someday we'll measure things very carefully and be able to report back where the fault on this lay - was it our fault for not making a tall enough repair to the original substructure? We think not! More likely, the reproduction skin isn't quite what the original was. But, it doesn't matter so long as the parts are welded in properly and it's all sealed up nicely. ...Do note that we subsequently cut off the extra material, keeping the line horizontal.
Finally, the front area. On the right, the stiffener was sufficiently long that it went under the reinforcement piece that strengthens the hing pillar area. So, instead of having to cut it off, as the hinge pillar stiffener was rotted away at the very bottom, we just tied it in to the rocker stiffener and we're sure it's stronger than new.
However, on the left, this more-stock-like convertible stiffener doesn't go far enough forward. So, if you look very carefully - it's all black! - you can see that we added two diagonal guesets to the bottom of a very thick metal plate we welded to the bottom of the hinge pillar reinforcement stiffener. What you can't see at all is that we used a very thick piece of material in the fore-aft direction - and welded it in from the back-side, too - just at the bottom of the reinforcement stiffener. These pieces were made out of bar stock and welded with heavy gussetting.
The reason we did it this way was because the hinge pillar stiffener was rotted away, but only at the very bottom, and the new part is on the order of $100 and we'd only be using the bottom inch and a half, at most. (The whole part is around a foot tall.)
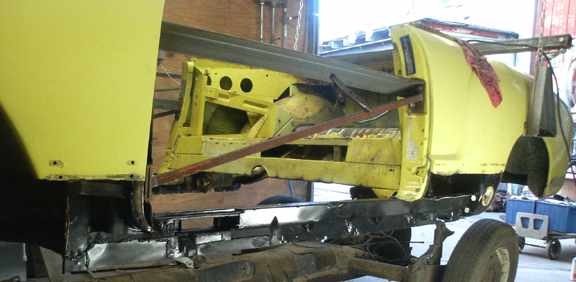
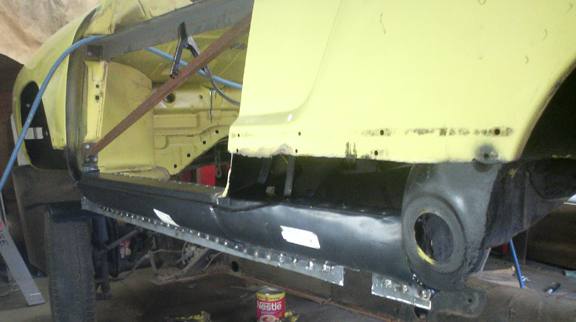
Following this, the remaining four pieces of fender skin were installed, the rear ends of the fronts, and the front ends of the rears, and then that body of work was complete. Note that none of these pieces have sufficient curvature; if welded "flat" with the upper portion, the lower lip seam would be perhaps 1/4" ouboard of where it actually is. This is why we welded in these pieces at the trim, so that it hides the change in angle. Next up was the dash.
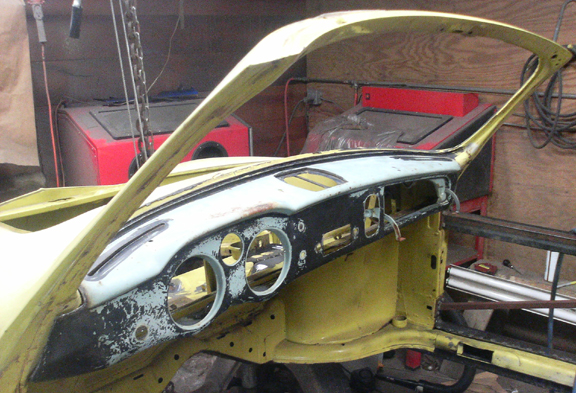
Yes, our customer asked us to replace the dash with one from an earlier car. So, we sourced the replacement dash first, then got out the plasma cutter and removed the original dash - at the moment it remains available for someone who needs to fix a younger Ghia!
Here's the cut out dash:
Here is the hole we left behind - now ready for the "new" one!
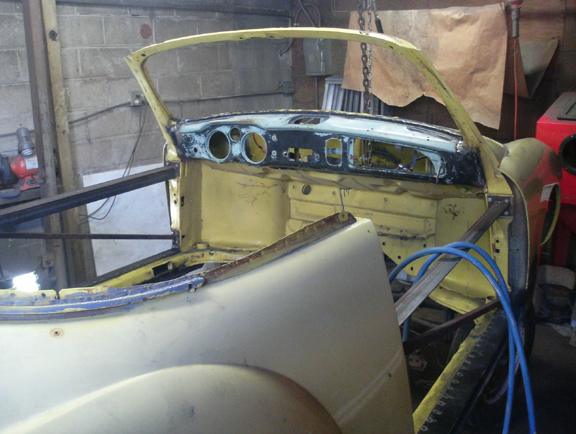
OK, so far so good - how well did we do? Hmmm, trial fit, of course!
All right, now weld it in!
The customer asked us to weld up the passenger grab-handle mounting holes because he wasn't going to be running a padded dash and since the later plastic grab-handle won't fit the bare metal dash, he didn't care about that part, so, we complied. (If you want one, holes can be drilled and one from a '55 to '59 Ghia installed.)
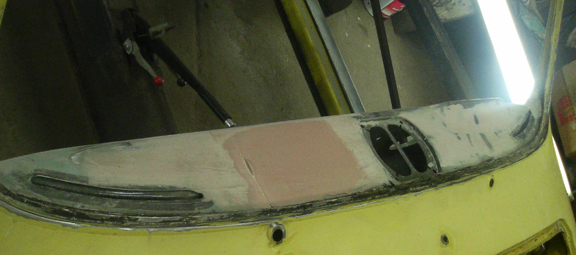
Now that the dash is welded in, ONLY now can we "surface" it correctly, in the same order as the factory did, though the earliest cars had much better steel pressings (thicker metal, distorts less during installation) and had a lot more bodywork attention given to the dashes as they were welded in. This surfacing cannot be done prior to installation because the surface level of the dash is dependent upon the exact alignment of the lips of the cowel and dash pressings at the windshield's mounting lip. Thus, we continued on as follows - note multiple applications of plastic filler was required in the area between the radio grille and the passenger side air vent:
We don't have any specific shots of it, but at this point, we double-checked that ALL the underneath areas were thoroughly painted with POR-15, not only the rocker areas we worked on, but all the other areas, too. It took several passes to ensure there were no places that were not fully protected.
It is important to note that our customer did not wish to pay us to fix all the body's problems, but were willing to pay us to fully apply POR-15 on the areas we were to leave alone. And we're happy for that because we couldn't imagine leaving anything to rust.
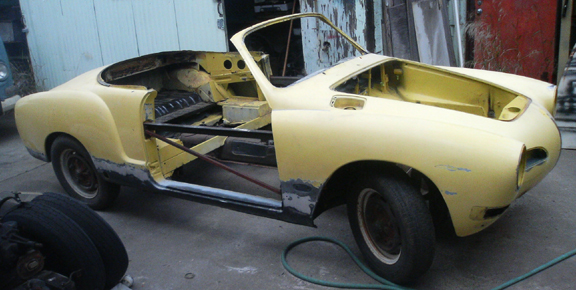
Now, with all the metal work done and all the painting underneath behind us, it's time to put the body on the dolley so it's not moving around while trying to do the sanding and other finish work.
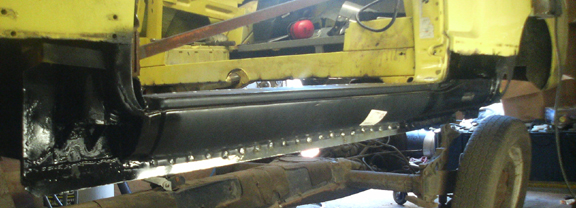
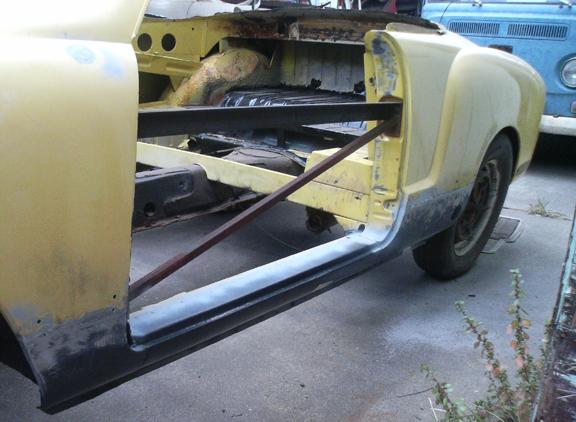
We did a bit of plastic work on the weld areas of the outer skin in the vacinity of the rocker repairs and then later wheeled the machine out of the bay and took this photo.
And lets not ignore the left side, though it's up against the shed:
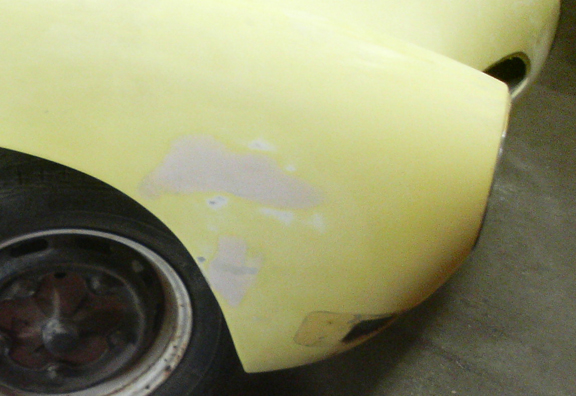
Ouch, there's a nasty scratch in the front right fender. While we knocked all the dents out and the metal is at the right "height", the undercoating prevents perfect hammer-and-dolley work and while we could have removed the undercoating that wouldn't have helped with the significant gouge into the metal itself:
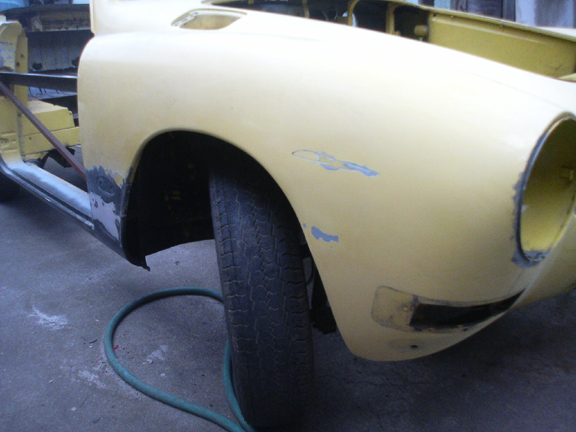
So , we filled it:
Want to see more of this vehicle?