Copyright © 2007 - 2025, Coachworks For contact data Click Here.
Copyright © 2007 - 2025
Copyright © 2007 - 2025,
Coachworks For contact data
Click Here.
![]()
At some point, the phone rang with someone wanting to buy a Ghia like this one. They were pointed to the web pages about this car and bought it. It wasn't yet fully assembled so they made a deposit and the car was then completed. The top was going to be installed but winter was coming! And so, time running out, we worked a deal where the top would be done on their end. Here are the photos of how the car was as it shipped.
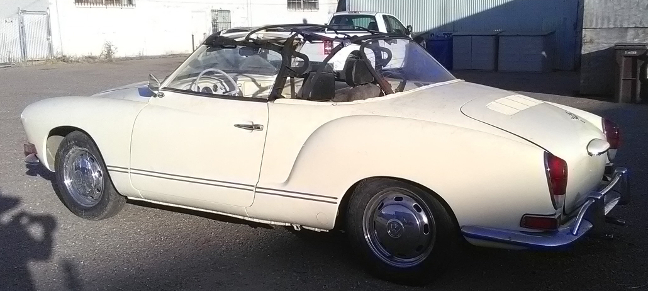
It was decided to ship the car with the top up as it would hopefully protect the top and rear glass best.
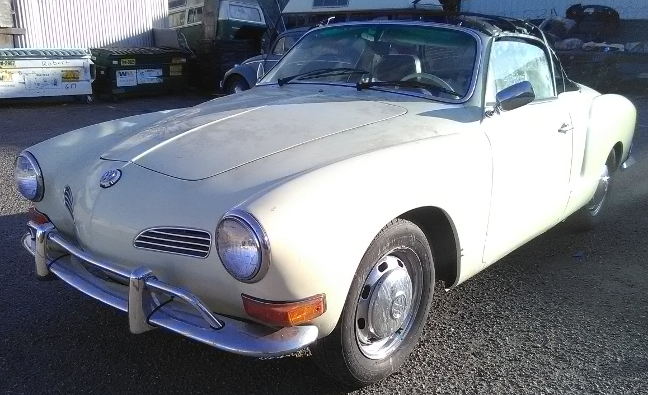
The front left wheel could use some cleaning - that's left-over drippings from wet-sanding orange peal out of the paint that we never got around to wiping off.
The rear lid is slightly ajar because of the rear rubber strip not being fully glued down yet.
From the left and right:
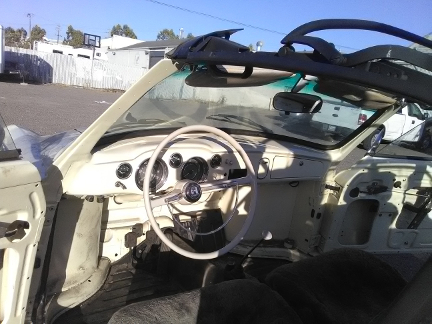
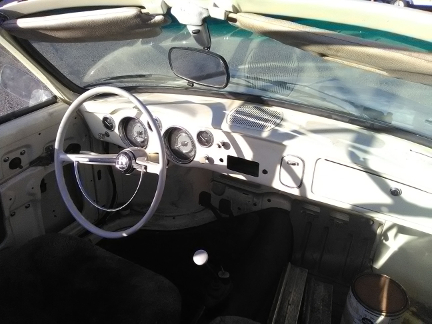
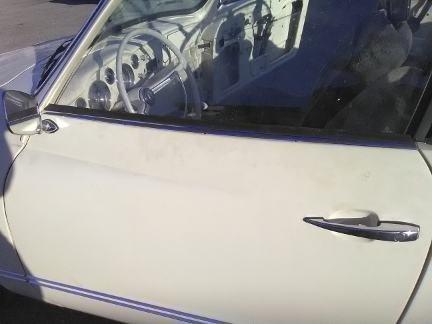
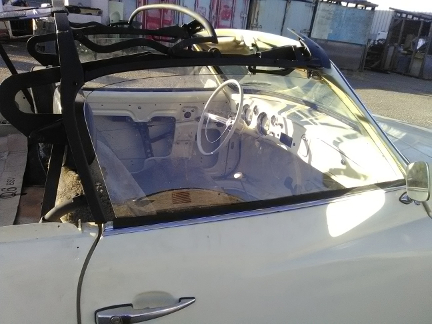
Yes, those are original visors installed! And, that's a new rear-view mirror and dome light ... I just realized I forgot to test if that light works! Oops! ...See earlier photos for close-ups of the wonderful dash!
The door panels were old reproductions and the driver's wasn't in good condition, so we'd agreed the buyer would find ones they like and install them. And it's just as well because the door glass cannot be adjusted until the rubber seals are installed onto the top frame, and the rubber seals can't be installed until the top is installed...
Here are the doors from the inside, then the outside. Becaues the glass is up, you can't see that the window sliders have been replated. Also, all new mounting hardware was employed for nearly all the door guts, including stainless steel for the door locks.
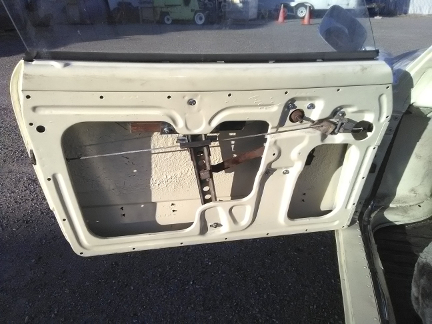
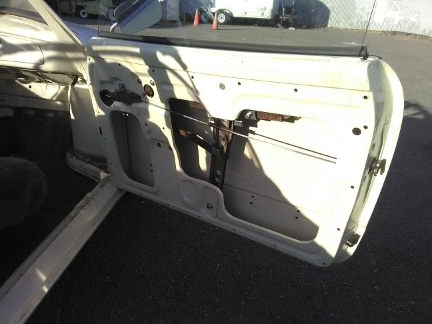
Here, we see the outer scrapers installed. There's a little bit of fitment required after the door glass is adjusted (see notes above about the order of doing this). You can note that I did a preliminary fitting on the right but not the left (look to the rear edge of the glass at the scraper. ...These scrapers are officially for 1960 and WILL let water into the door. So, it's vital the door drains are clear - and they are as of now!
The convertible top and a few random other pieces had to be packed into the vehicle. Here they are, packed:
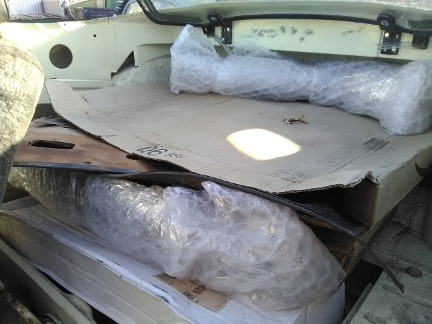
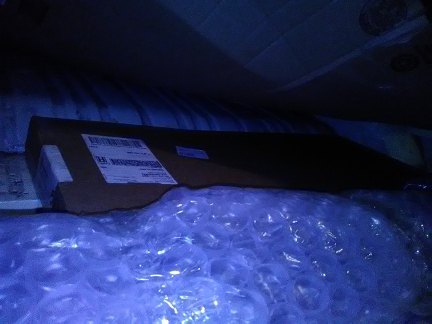
Above, the horizontal bubble-wrapped items on top are so-called "mud-plates" that came from a different Ghia - the ones on this car were rotted out and the previous would-be buyer didn't want to pay for them to be fixed saying the car would never go on wet roads... Well, OK, but I decided to supply these to the new buyer "just because."
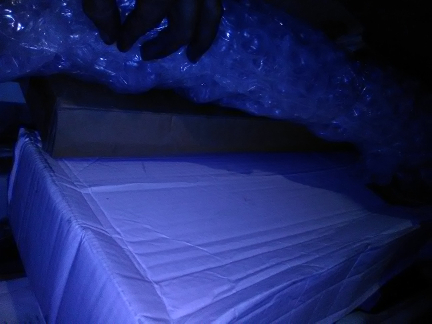
Below that, in the large but fairly shallow box, are a fill set of "carpet" felt pieces for a cabriolet of this vintage. It's everything, I think! ... Um... maybe not, but it's close to everything. And, there's the one surviving but reproduction right hand door panel. Below thatin bubble wrap is the new header bow and below that are the new external top in Hartzcloth black vinyl, and the new headliner, in off-white, all still "new in box" (unopened). Below that left and right we have the cubbyholes under the rear seat...
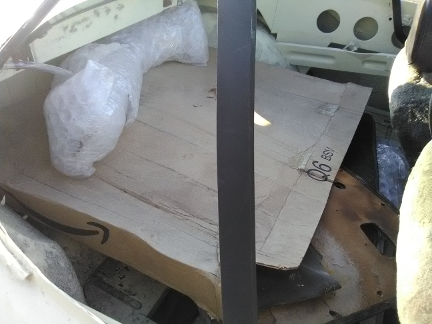
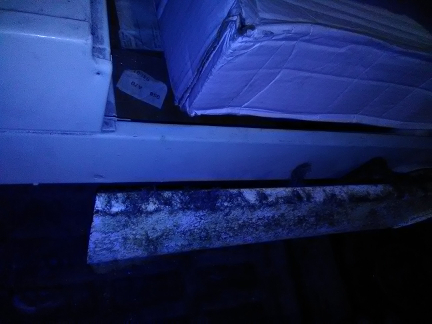
Unfortunately, some of the images were taken at night and are the best / only images we have of some of this ... here they are. This first one is inside the box cited above, then what's under that box:
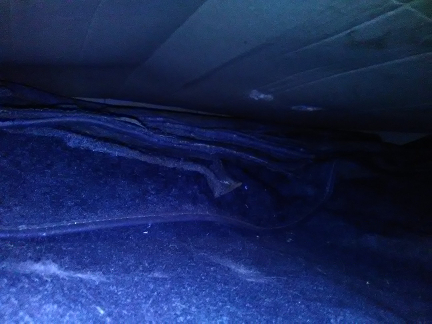
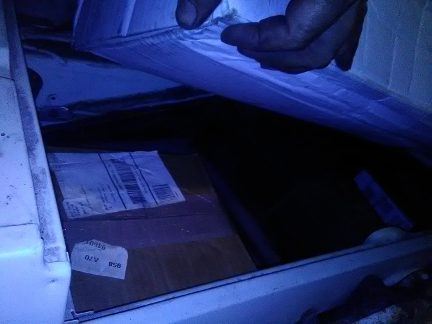
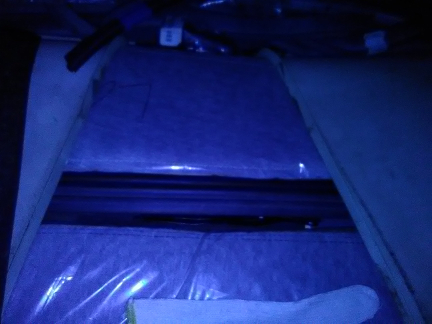
Under that we find the headliner and top, and then the right hand cubbyhole. In the box inside the cubbyhole are a host of small pieces, mostly for the top but also for the seat belts, heating system and other miscellaneous bits.
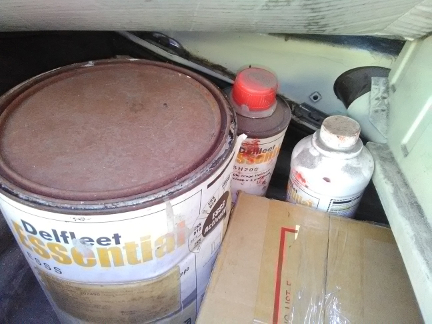
Underneath on the left are the last of the paint, with matching chemicals, and the seat belts, in the box, and here also we have the only shot of the extra front-of-rear-seat support that was thrown in for good measure:
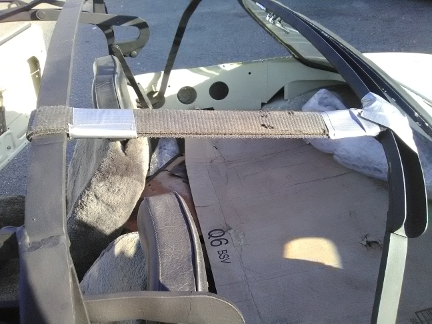
I thought that the cabriolet top might benefit from additional support, so webbing was added, much as would be in the top when finally installed. This was done to both sides identically:
The trunk was packed at night and unfortunately the flash made things worse. So, the images are dark but perhaps useful.
Here's what you see when you open the lid:
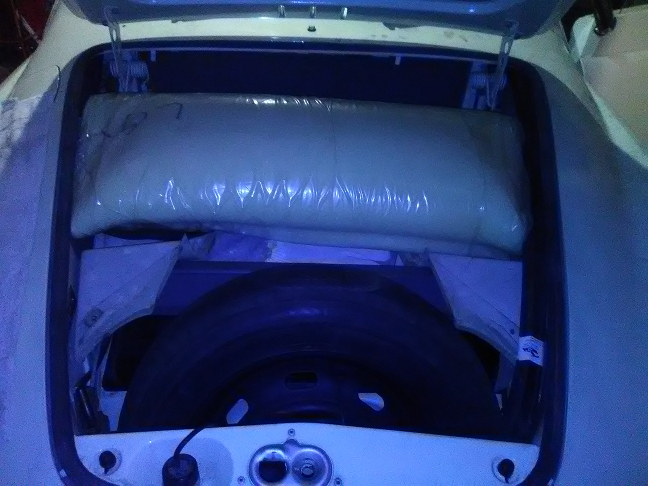
The pillow-looking thing is the top padding, new of course, rolled up. Once that's removed, you see:
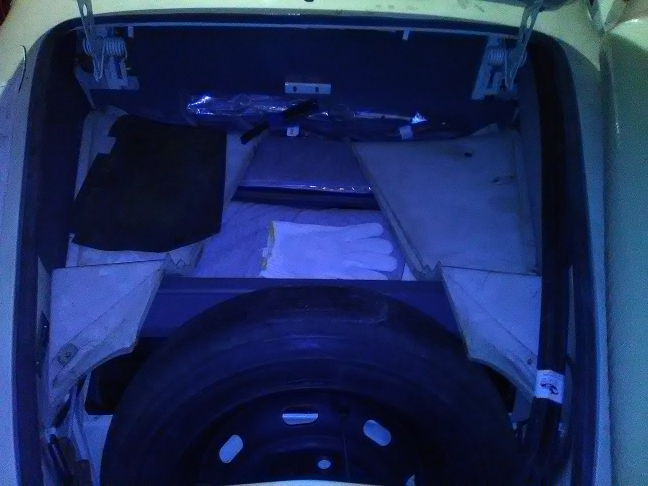
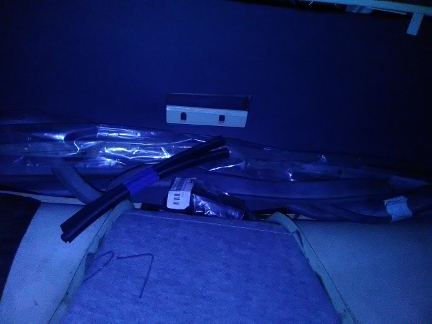
The big white things, right and left, are the ultra-fragile cabriolet top frame hing covers. They're over layers of the top padding, new in their plastic bags, and between the three gaps, one at the dash, one at the spare tire end, and one inbetween, the transverse (left to right) spaces are filled with long pieces of various kinds, mostly rubber. The glove is for polishing the paint. The jack and tommy bar can just barely be made out in the extreme left foreground of this image. Along the right edge of this image - the left edge of the trunk - are packed the following, as shown here:
The upper most thing we see above is the front hood seal, then the edge of the trunk liner, and just below that, the black thing, is the new intermediate blow. Below that we see more of the trunk liner and belwo that we see the oh-so-fragile cover-plate for the front header bow. It's in perfect condition now - sure hope it makes the trip OK and can be installed again! ...Below that is the right hand hinge cover cited above. Yes, the seat belt hook needs to be renewed! And that hole is for the seat belts.
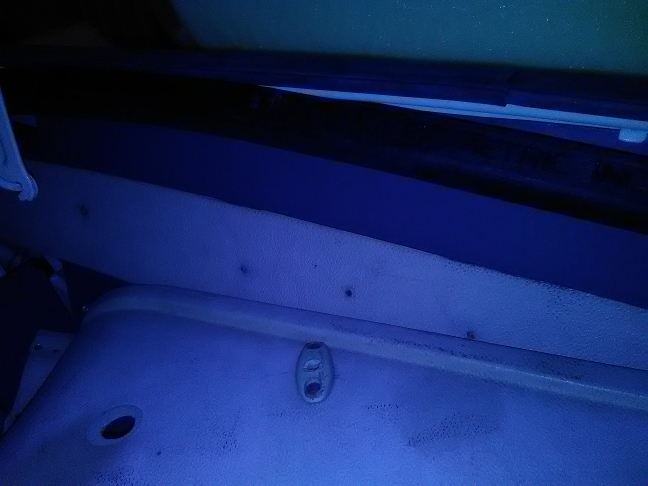
Finally, some of the gaps mentioned above:
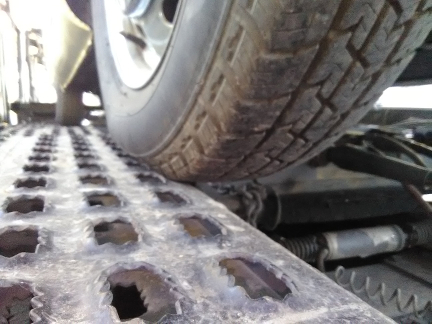
Loading on the car carrier...
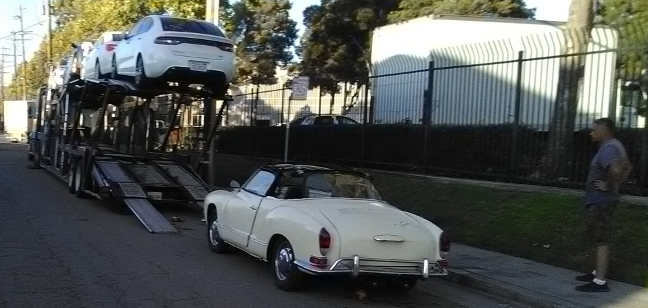
The truck driver wanted to be the one to drive it up on the carrier, and he nearly screwed it up! I shouted at him to stop! Fortunately, he did, and all's well now!
Want to see more of this vehicle? This Ghia's main page is here.