Copyright © 2007 - 2025, Coachworks For contact data Click Here.
Copyright © 2007 - 2025
Copyright © 2007 - 2025,
Coachworks For contact data
Click Here.
![]()
For this vehicle's main web page, click here.
 Interior
This car has the 1959 steering wheel assembly, which differs from both 1958 and 1960, and there are a lot of unique parts in the horn button assembly. And, the horn works - in fact, all the electricals in the car work!
AT RIGHT: The dash today. Note that the car has all the correct knobs, including rare, original, unique to Ghia shifter and heater fawcet knobs in great original condition. (...Yes, the alert viewer will note that that's a 1952 Porsche 356 in front, a later 356 (B) on the right, and two Karmann Ghia cabriolets parked on the right.)
As noted elsewhere, the gauges were rebuilt by VDO, and the clock and fuel gauge are both 12v to go with the conversion discussed elsewhere.
The dash knobs and heater control knob are originals in great condition, the window winders and shifter knob are reproductions, but they're the correct style, unique to the Ghia.
We have a set of 8 matching, color coordinated (correct for this body color) rubber mats that line the interior. They are:
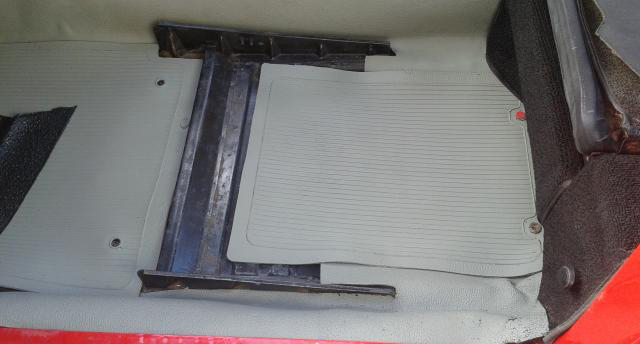
AT RIGHT: Here, you can see the front mats from the left. They are truly beautiful and really bring out the character of the 1950's era Karmann Ghia.
AT RIGHT: Here, you can see the front mats from the right side. Unfortunately, the camera kept adjusting the light based on light bouncing off the seat and refused to make a properly lit image of the footwell, so it's dim, but you can see what you need to see; it's beautiful!
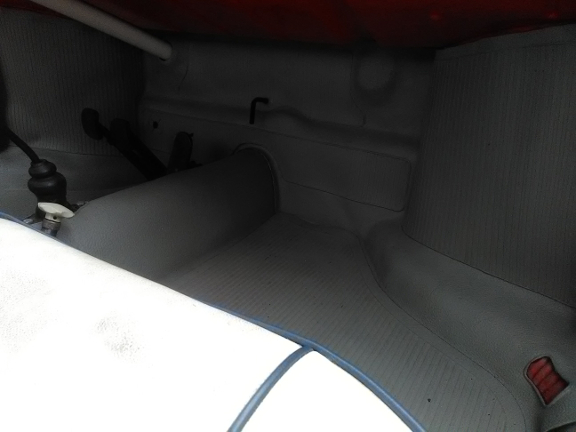
If you look to the extreme left edge of this image, you can see the Karmann Ghia only fawcet style heater knob.
At right you can see the conjunction of front, rear, tunnel and one rocker mat installed on the left side. This photo was taken while the work was in progress, and that bit of black on the extreme left is the front footwell wall mat that isn't yet fully installed.
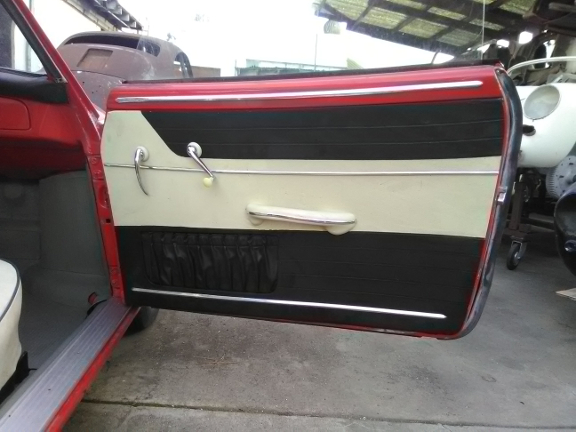
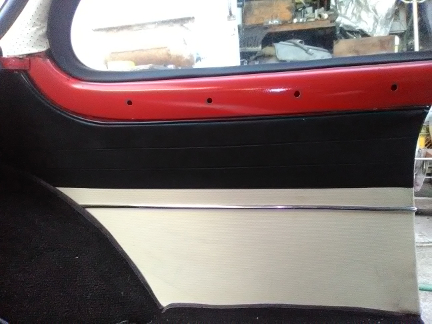
Keeping in mind that this car is from extremely late 1959, one of the very last before the 1960 model year and also keeping in mind that Karmann made changes whenever they wanted with no documentation to tell us about it, it's no surprise that this car would have door panels which have the very rare, 1960 only interior door pulls as "arm rests" on both sides. We had the door panels dyed to clean them up a bit, and mounted to new backing boards, and we had them dye the rear quarters too.
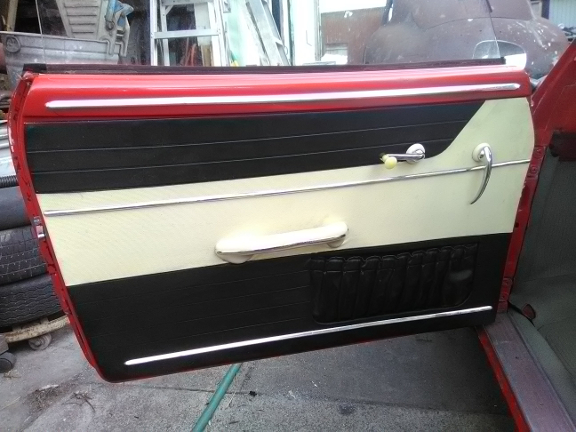
It is fair to note that there are supposed to be three trim strips that go on the door panels, but when we had the door panel work done (remounting the skins on new backing boards) we were missing two of the lower strips, so we put one on each panel. However, after Thanksgiving, 2018 we found some of these and if we can, we'll provide two more with the car.
Below is a shot of the horn ring and button together along with the window winders and interior latch release levers.

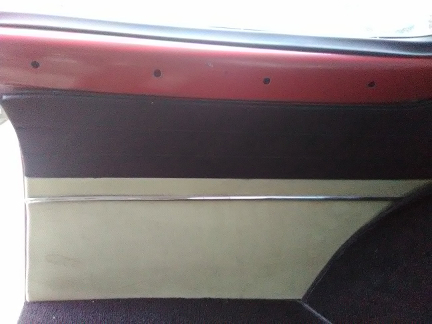
We have a whole page on the dash - find it here. Meanwhile, here are the quarter panels. The aluminum "spears" that go below the quarter window glass and above the inner quarter panels are missing. We have planned to install new ones from Karmann Ghia Parts and Restoration, but when we went to buy them, they were out of stock.
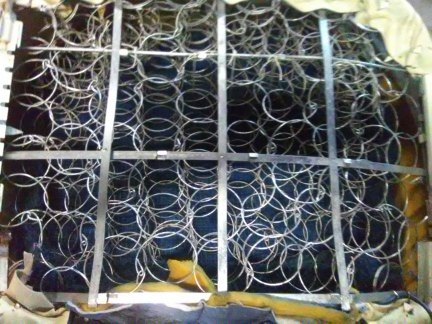
And, how about the seats? Since we had to take them out to get the floor mats in, we took a photo of them while they awaited reinstallation. While doing this, we noted that when they were reupholstered they got their springs re-plated! Nice!

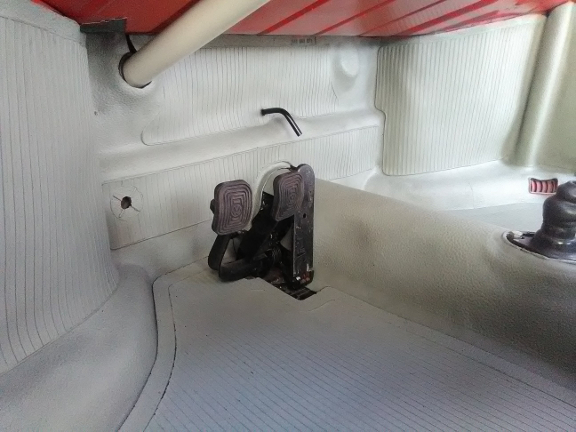
...Thought it might be nice to show the lovely, Ghia-Only shifter and heater knobs... The wrinkles you might notice in the rubber foot well wall mat around the vertical heater tube are caused by the fact that this car has its wiring loom run up along side that tube in a non-standard location so there's a little extra mat material and it puckers a little - it's far more noticeable in this image than it is in person.

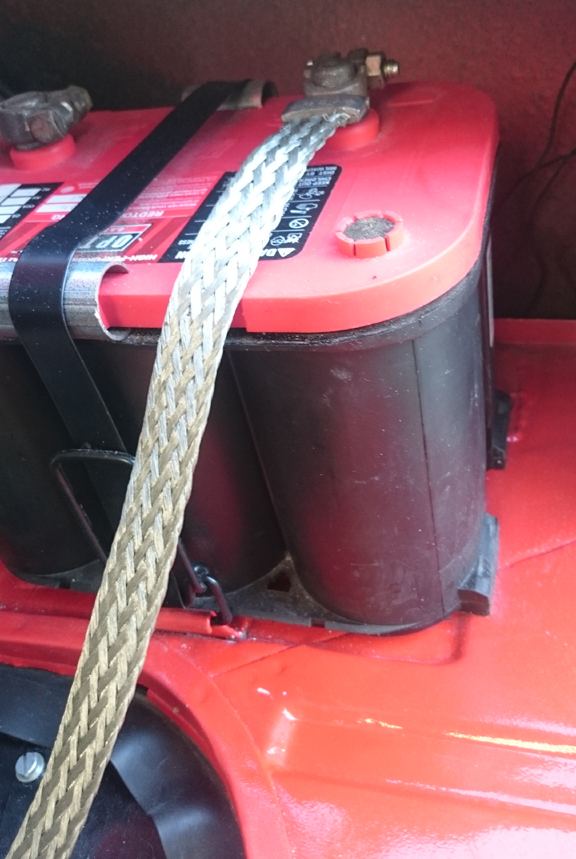
As the electrical system was originally 6 volt, then changed to 12 v in 1986 (along with instlling a dual port engine from 1974), and as it was decided to retain the 12v system in the current work (even after returning to a period correct engine). During the work done in '86, the battery hold down was shifted to the left, but we un-did that work and returned it to the right, where it belongs. And a proper 12v battery retaining strategy needed to be effected as the battery has to be properly mounted. Additionally, it also has to be properly charged.
In the engine section, found here, you can see the generator fitted. Here we show the two accessories that go along with.
The battery was originally covered with a metal cover that fitted a very specifically sized battery. However, now we are well outside that happening. If we did nothing and merely tried to strap the battery down without additional effort, the solution would fail because the strap would be attempting to make two 90 degree angles and would not "slip" properly to keep the system tight. Here, we have made two very simple but very important pieces that fit into a feature of our specific battery. Should the battery ever be change wtih a different type, it is very important that this solution be re-implemented for the new battery! With luck, these pieces might even fit a new battery type! Note that the retaining strap used here is the stock item.
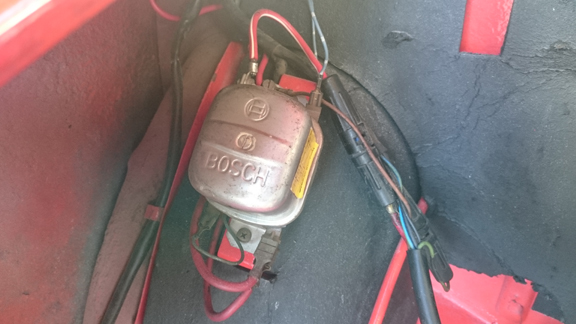
The large diameter generator from the 1970s previously installed had a 30A voltage regulator mounted to the bracketry from a '70s era Ghia which had been welded in. However, the small diameter generator used on this engine is from a very early Porsche 912 and is rated at 25 ampiers of power. The most commonly available voltage regulator of this basic type is rated at 30 amps used previously. However, we have installed a proper voltage regulator, so as it is now, everything's OK. However, we have been concerned for the future as the 25A regulator is hard to find and expensive.
As stated above, the correct, original (to this generator) regulator is the Bosch 12v 25A voltage regulator, which mounts and has identical fittings as the 30A version cited above. This 25A version iis available today from Zims in Texas, and they say it's still in production for an industrial application. However, should this one fail and that unit is no longer availabe, we have implemented a safety so a 30A regulator could be used; not just one but TWO fuses have been added, fusing the D+ lead with a 25 amp fuse (blue!) and the DF lead with 8 amps (white!). This does two things. First, it forever ends, for this car, the suicide pact that voltage regulators and generators otherwise have where if either fails it will take out the other. Second, it permits the 30A regulator to be used with the 25A generator; without the fusing, this could cause serious trouble if the battery were to be dead and the generator attempt to charge it for any length of time. But with the fusing, and using the wrong but common 30A regulator, the owner still must keep the battery fully charged as best as possible, and should a fuse ever blow, the FIRST thing that is done is that the battery must be fully charged! THEN, simply replace the fuse - just changing the fuse without charging the battery first will result in another burnt out fuse!
These fuses are retained within late 1960s and 1970s era "cigar fuse holders", which are stock VW from that era - you can see them in the image below.
The mounting bracket for the voltage regulator was retained from the 1986 work. Hey, it works, why fight it!
If ever the voltage regulator needs to be replaced, a 12v 25A voltage regulator should be sourced. At the time of this writing, Zims in Texas has them new.
Want to see more of this vehicle? Click here.